
Technical Tip
Micronet displays the accumulated total of all payment lines selected for banking in the Deposited field.
The most common manual payment transactions are cash and cheque payments. These two types of customer payments will transfer to an Undeposited Funds GL account and can be selected for deposit by the user. Payments must first be selected for deposit then the Bank Deposit Slip verified and printed to move the transactions to the Bank account.
To select transactions for banking:
Refer to "Selecting an Undeposited Funds Account".
Transactions may be displayed in the following colours:
The payment line is displayed in green.
If you have selected the line by mistake, select it again then select the Set To UnDeposit button.
You can unselect all payment lines by selecting the Set All To Undeposit button.
|
|
|
Technical Tip Micronet displays the accumulated total of all payment lines selected for banking in the Deposited field. |
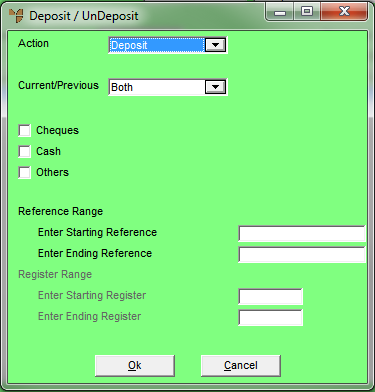
Micronet displays the Deposit / Undeposit screen.
Micronet redisplays the Debtor Banking screen with the appropriate transactions either selected or unselected.
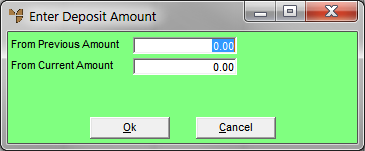
Micronet displays the Enter Deposit Amount screen.
Micronet redisplays the Debtor Banking screen.
Micronet displays the Select Cheques screen.
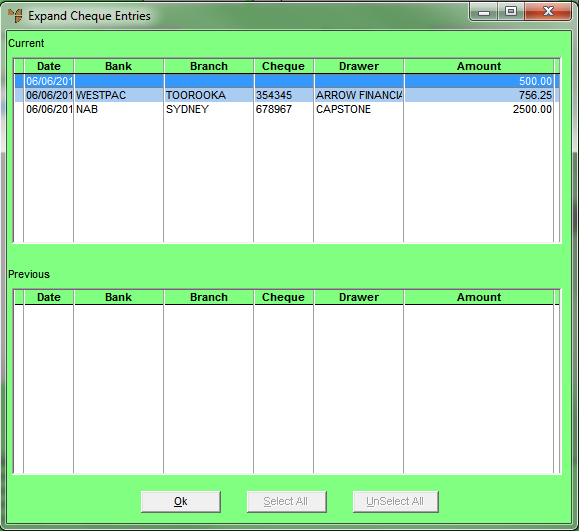
An asterisk is displayed next to the cheque, showing that it is to be included in the Bank Deposit Slip.
If you have selected the line by mistake, double click on it again or select it then press Enter to remove the asterisk.
You can unselect all cheque lines by selecting the UnSelect All button.
Micronet redisplays the Debtor Banking screen.